Product Information For Woo Commerce
Product Information For Woo Commerce
0 (0)

Description
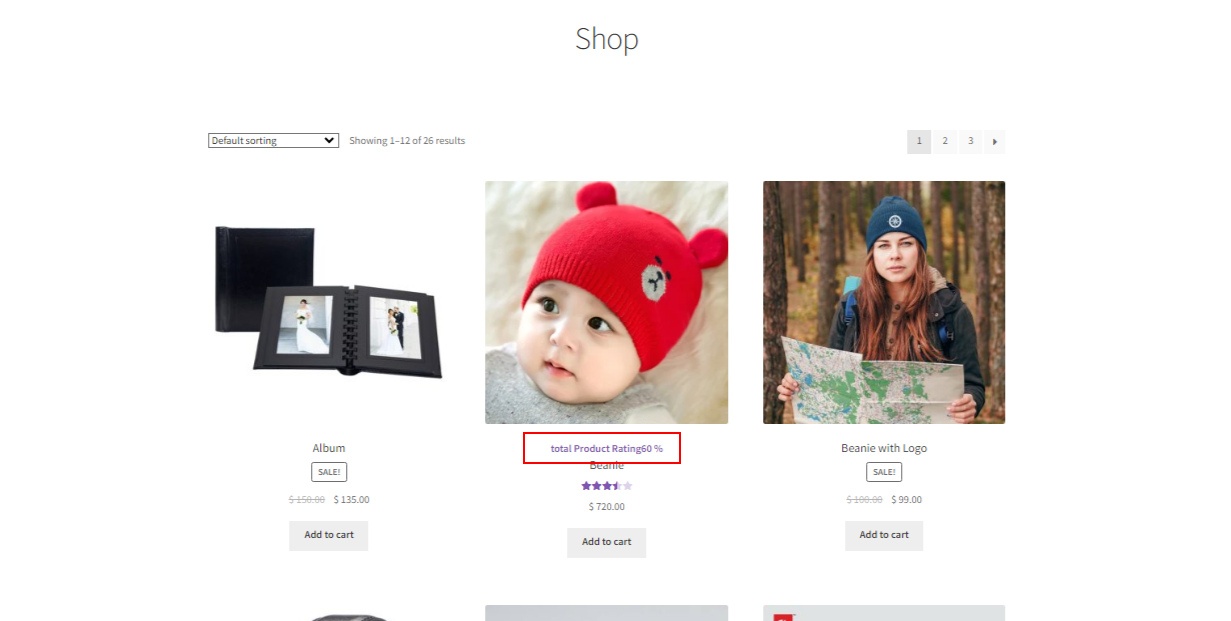
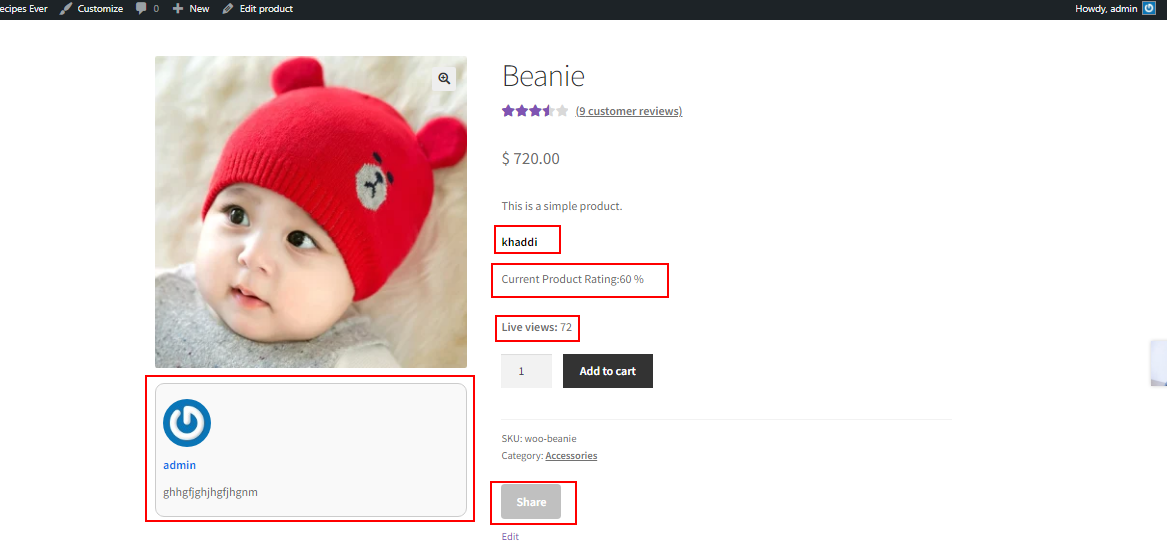
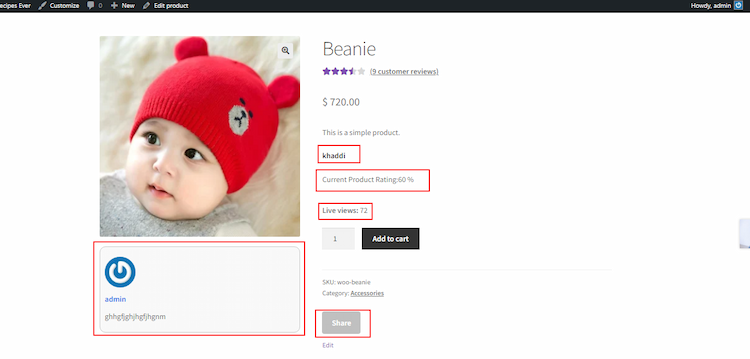
Product Information is a versatile plugin that enhances your website's product presentation. Display ordered products, showcase images, videos, and descriptions, share on social media, and engage with random user comments. This all-in-one tool offers an immersive product experience for your visitors, complete with brand information and optional live visitor interaction
Plugin Features:
-
Product Orders Display: This feature allows you to display the products that have been ordered, along with the product details.
-
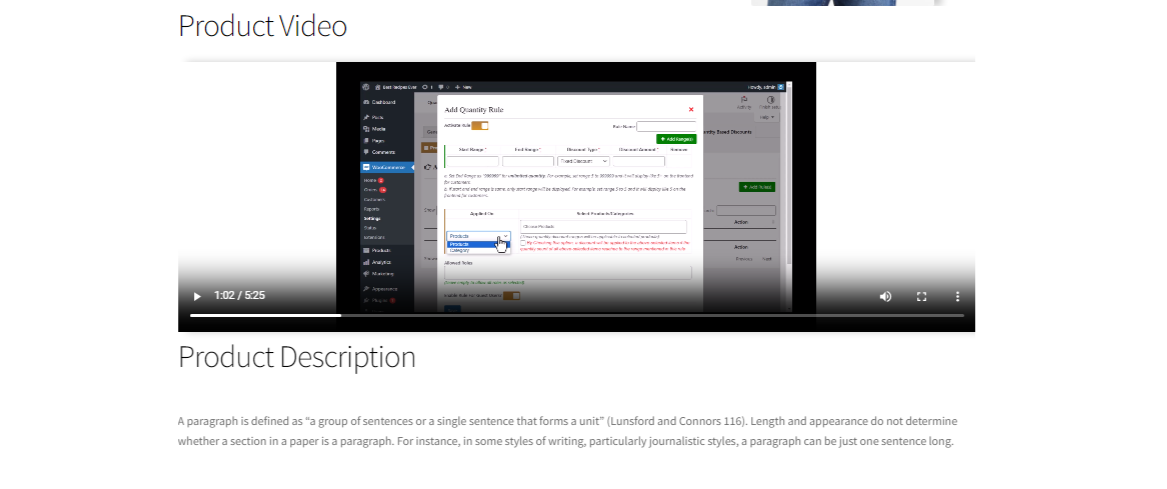
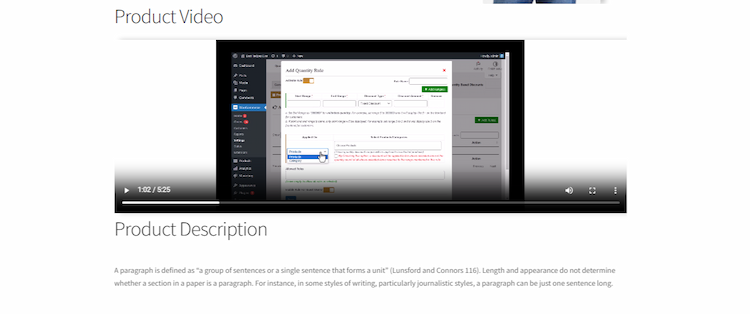
Product Images and Videos: You can add images and videos of the products within the plugin.
-
Product Description: Each product can have a detailed description associated with it.
-
Social Media Sharing: Share products on various social media platforms, including Whats App, Twitter, Facebook, and Instagram.
-
Random Comments: Display random user comments alongside the products.
-
Product Brand Display: Show the brand information for each product.
-
Live Visitors: Optionally, you can display live visitor information, though this feature may require customization.


Installation
Downloading the Plugin from Pluggable:
-
Visit the Pluggable platform: Go to the Pluggable website and search for the "Product Information" plugin in the search bar.
-
Purchase and Download: Once you find the plugin, purchase and download it from Pluggable. You will receive a ZIP file containing the plugin.
Activating the Plugin on Your WordPress Website:
-
Log in to Your WordPress Dashboard: Access your WordPress admin panel by logging in.
-
Navigate to the "Plugins" Section: In the WordPress dashboard, click on "Plugins" in the left-hand menu.
-
Add New Plugin: Inside the "Plugins" section, click on "Add New."
-
Upload the Plugin: Click on the "Upload Plugin" button. This allows you to manually upload the plugin.
-
Choose the Plugin File: Click "Choose File" to select the ZIP file you downloaded from Pluggable on your computer.
-
Install the Plugin: After selecting the ZIP file, click on "Install Now."
-
Activate the Plugin: Once the plugin is successfully installed, click on "Activate Plugin."
Your plugin will be activated, and you can start using it on your website. You will see the plugin listed in the "Installed Plugins" section of the dashboard, where you can activate or deactivate it.
Please note that if the plugin has any specific activation or configuration steps after installation, you should refer to the plugin's documentation or contact the developer for guidance.
Screenshots


Reviews
0 (0)

